Media Lounge / How I Create My Double Features
Last Updated: 24/05/2024
How I Create My Double Features (and Look Good Doing It)
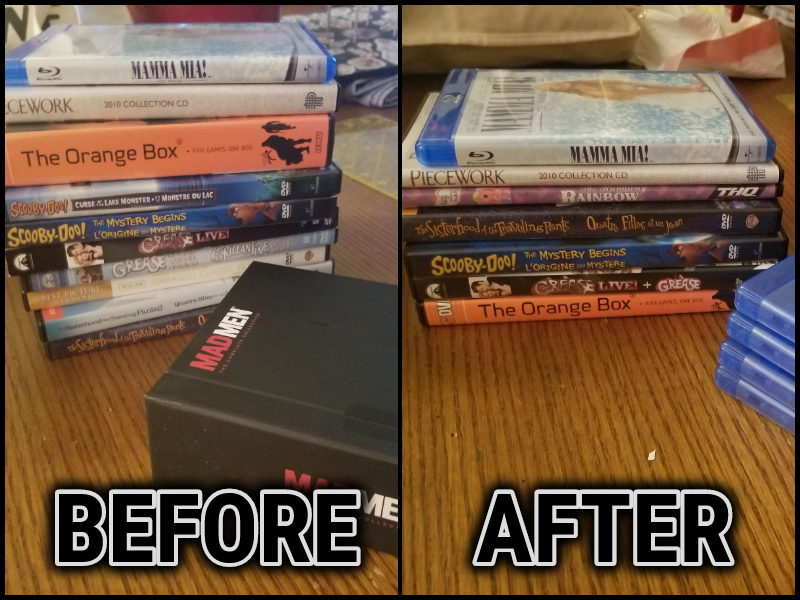
It turns out when you start adding to a collection you’ve already started, you wind up eventually running out of room! Who knew? So, to save some space I've been looking into some different storage solutions and have fallen down the rabbithole of plastic.
Theoretically I love the idea of slim cases. I think they look super sleek and quite elegant, perhaps because to me they're very novel. I think until I bought some empty ones the only times I saw those types of cases was in television show box sets.
However, it's really not realistic for me to order over a hundred slim cases, nevermind figuring out what to do with all the leftover plastic! So instead, I've started storing sequels together in the same case and thought why not share my thought process?
We Go Together — The Grease Example
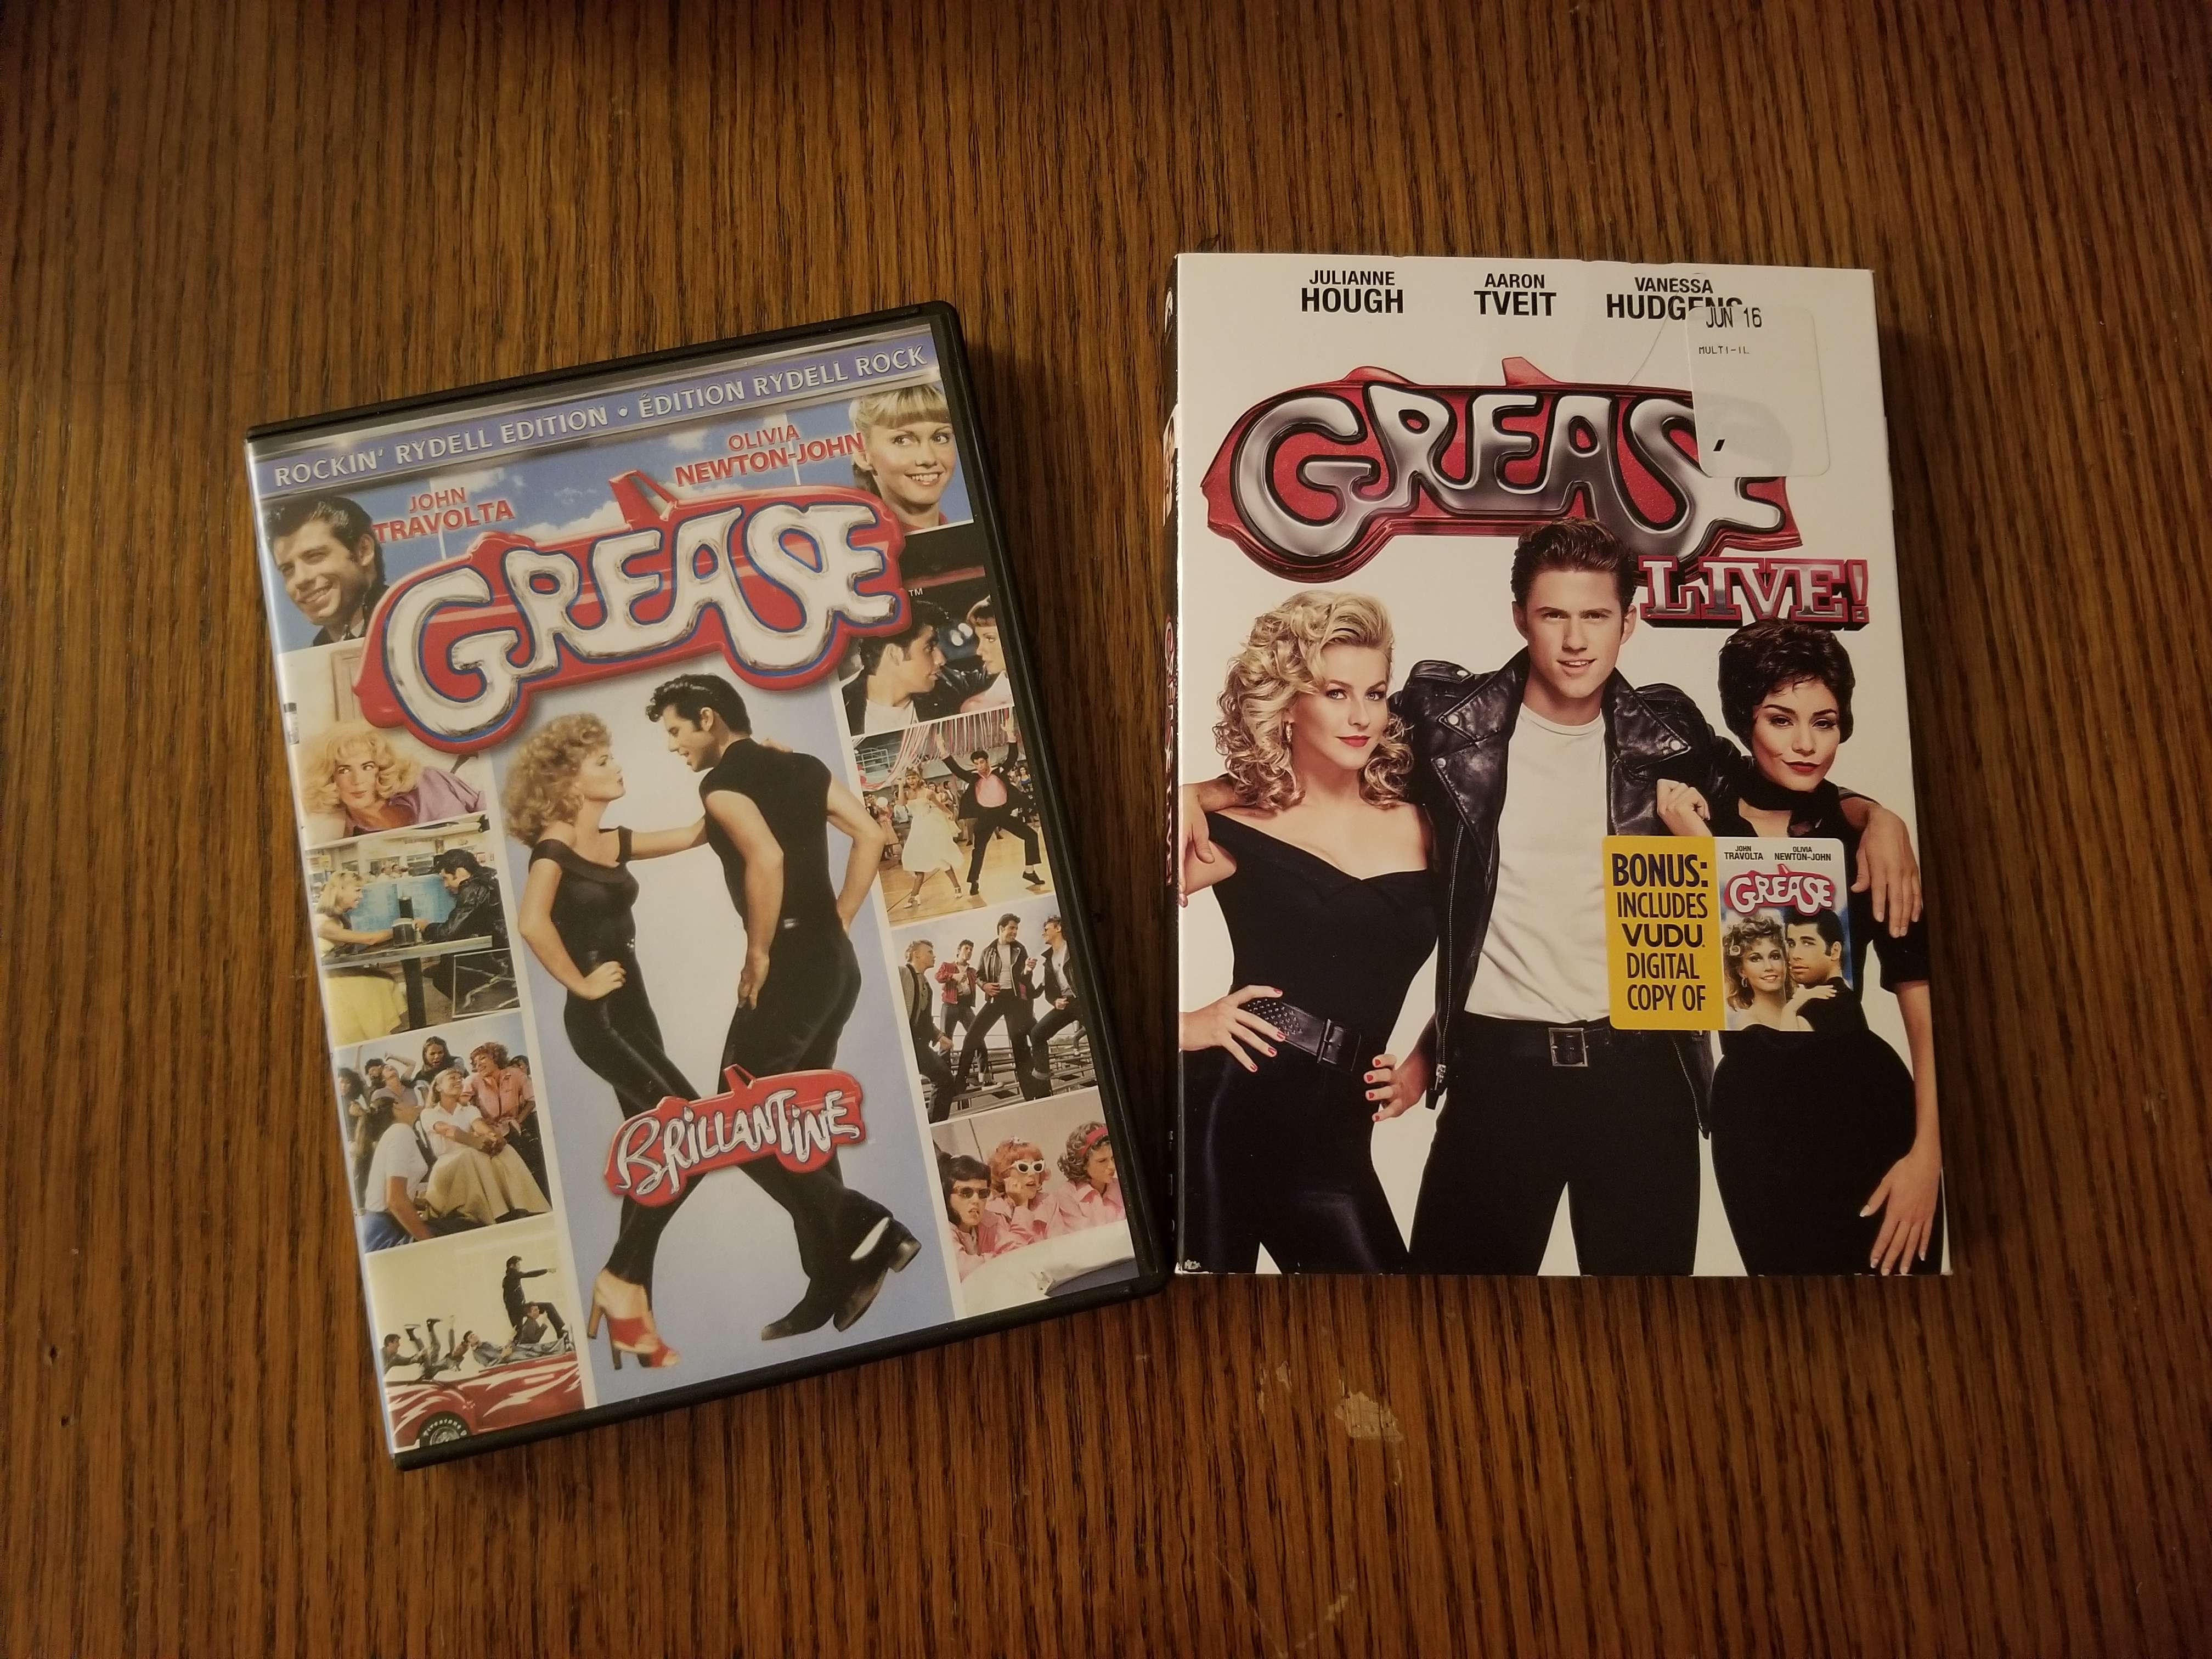
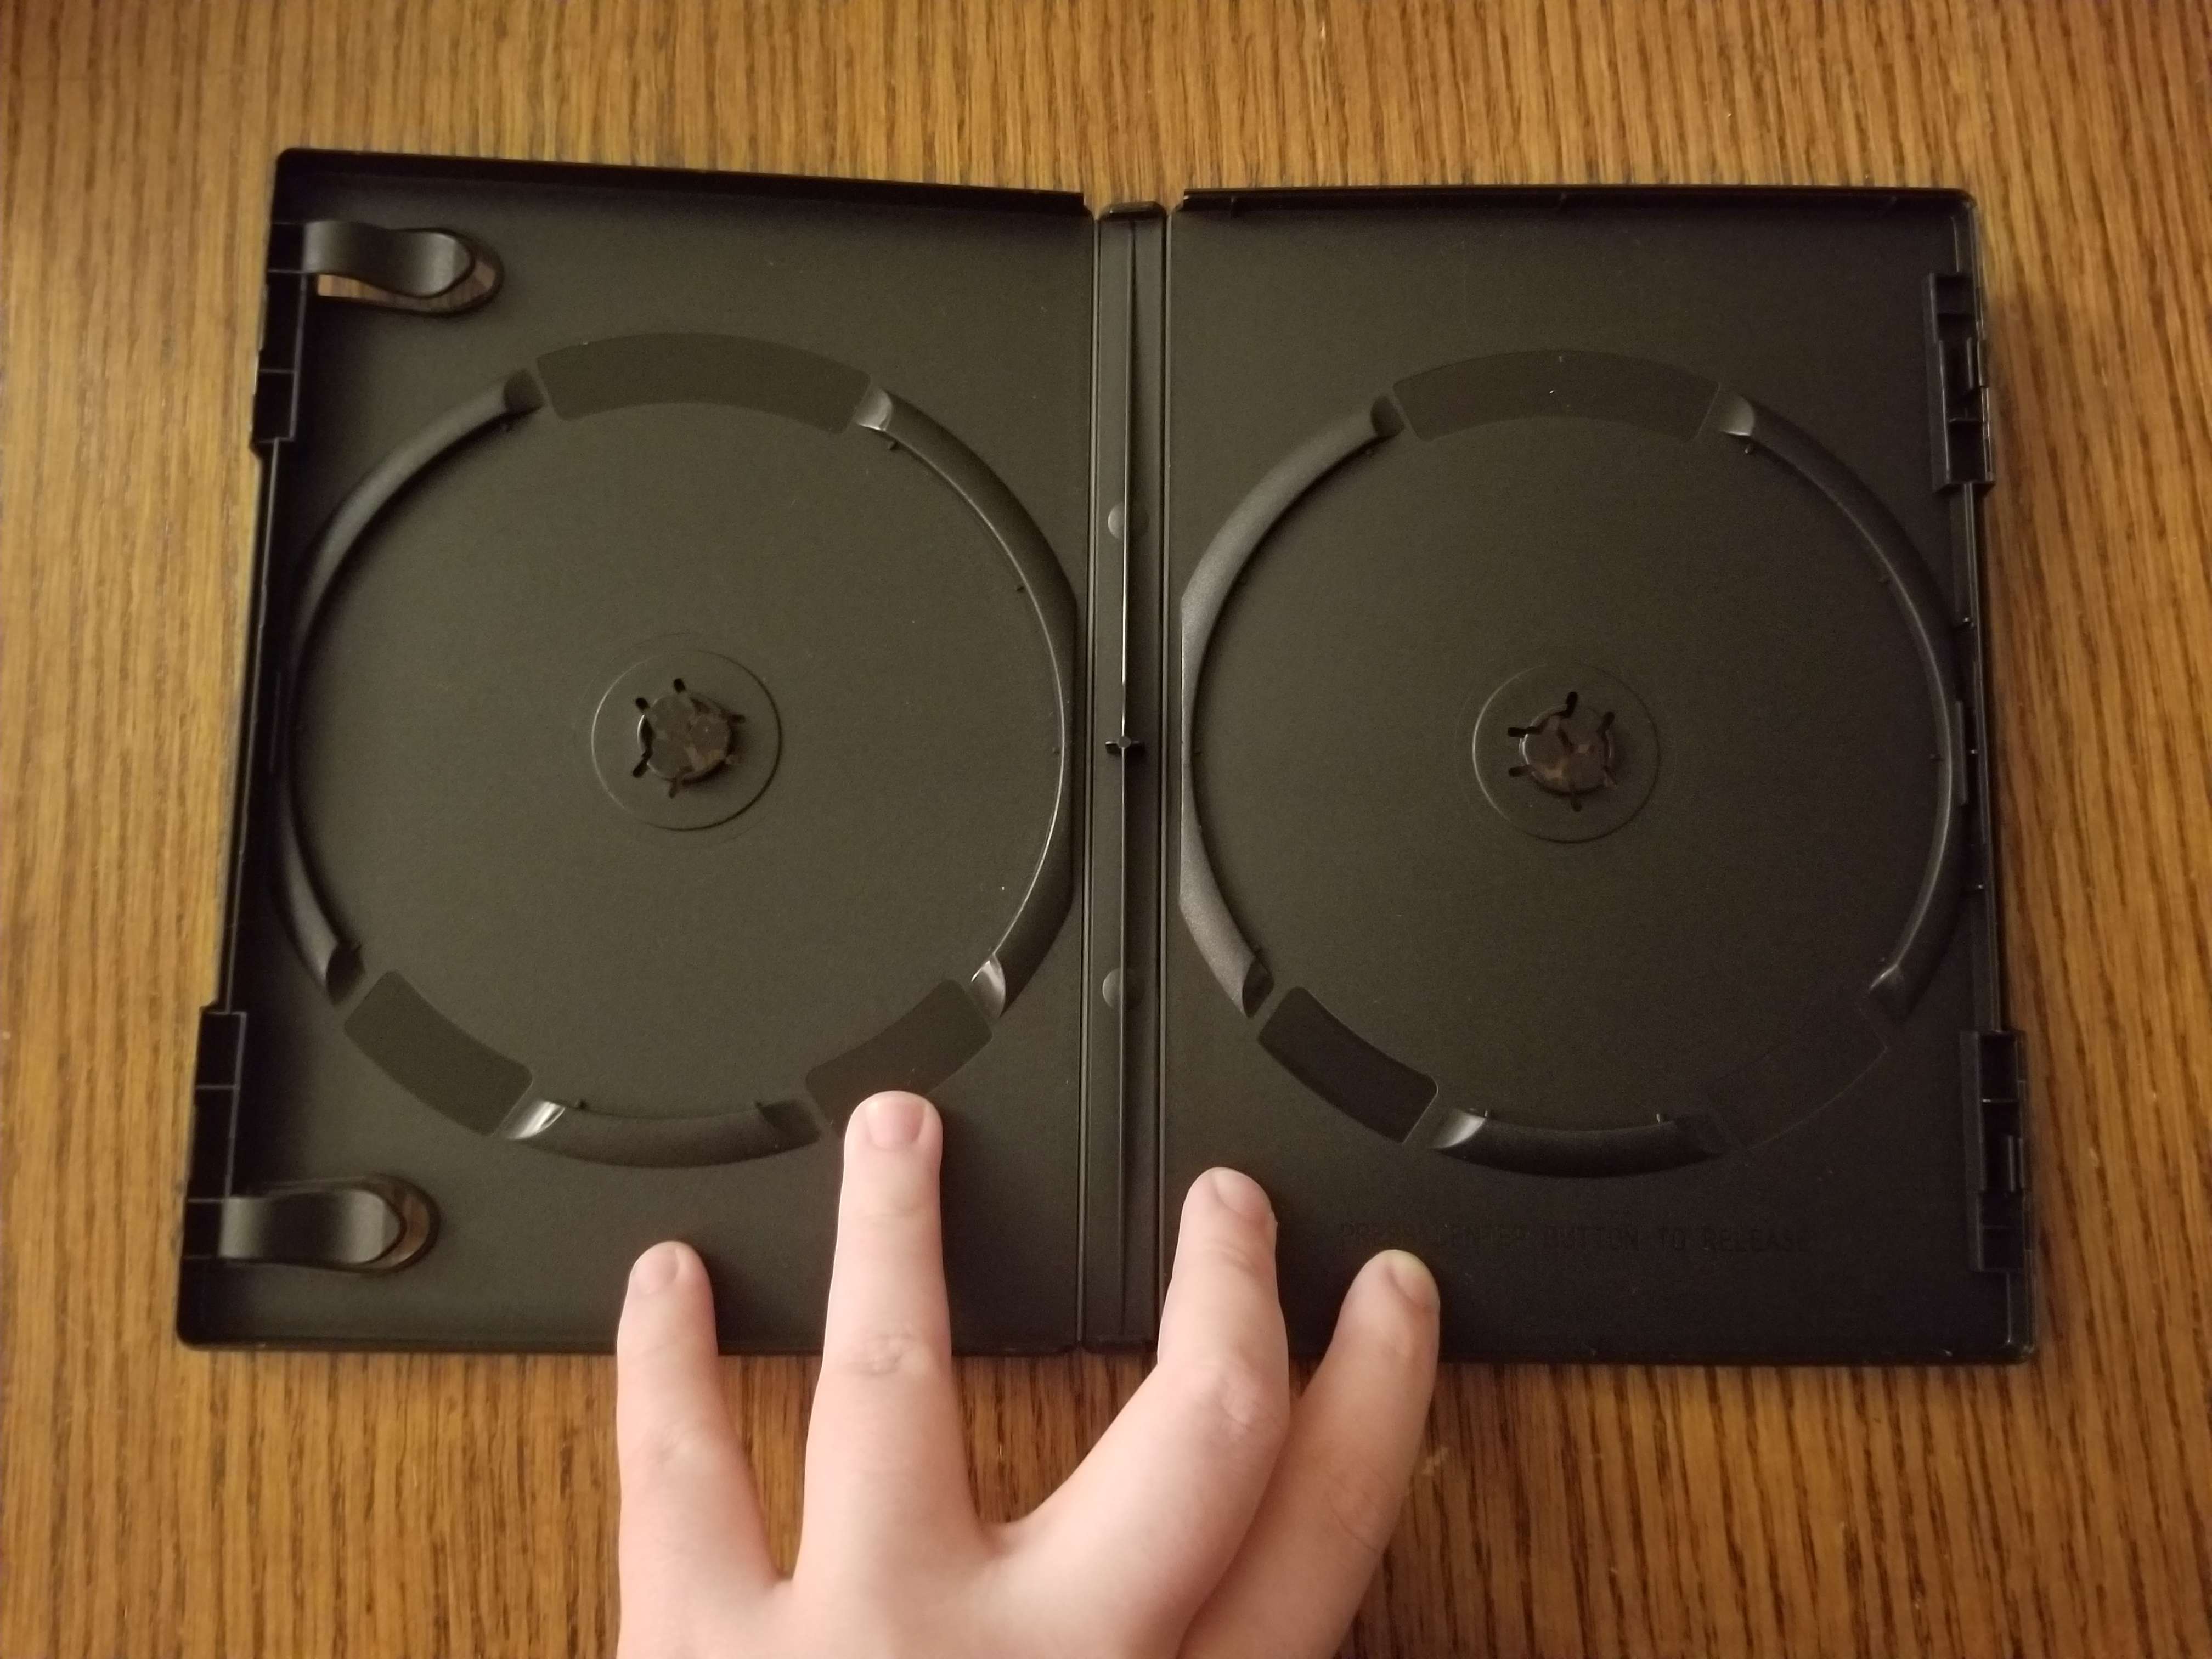
First you start by selecting your discs and your type of case. For this example I’ll combine my two versions of Grease: both of which I think I bought from different Walmart bargain bins. As for the case, I myself used these double DVD cases from Duplication.com, but you can easily reuse other cases and/or play around with standard expandable cases with the removable flaps. Then you put them in the case. Honestly you could just take the art out of one, slip it into the cover and you’re done, but for this project I did go a little bit extra.
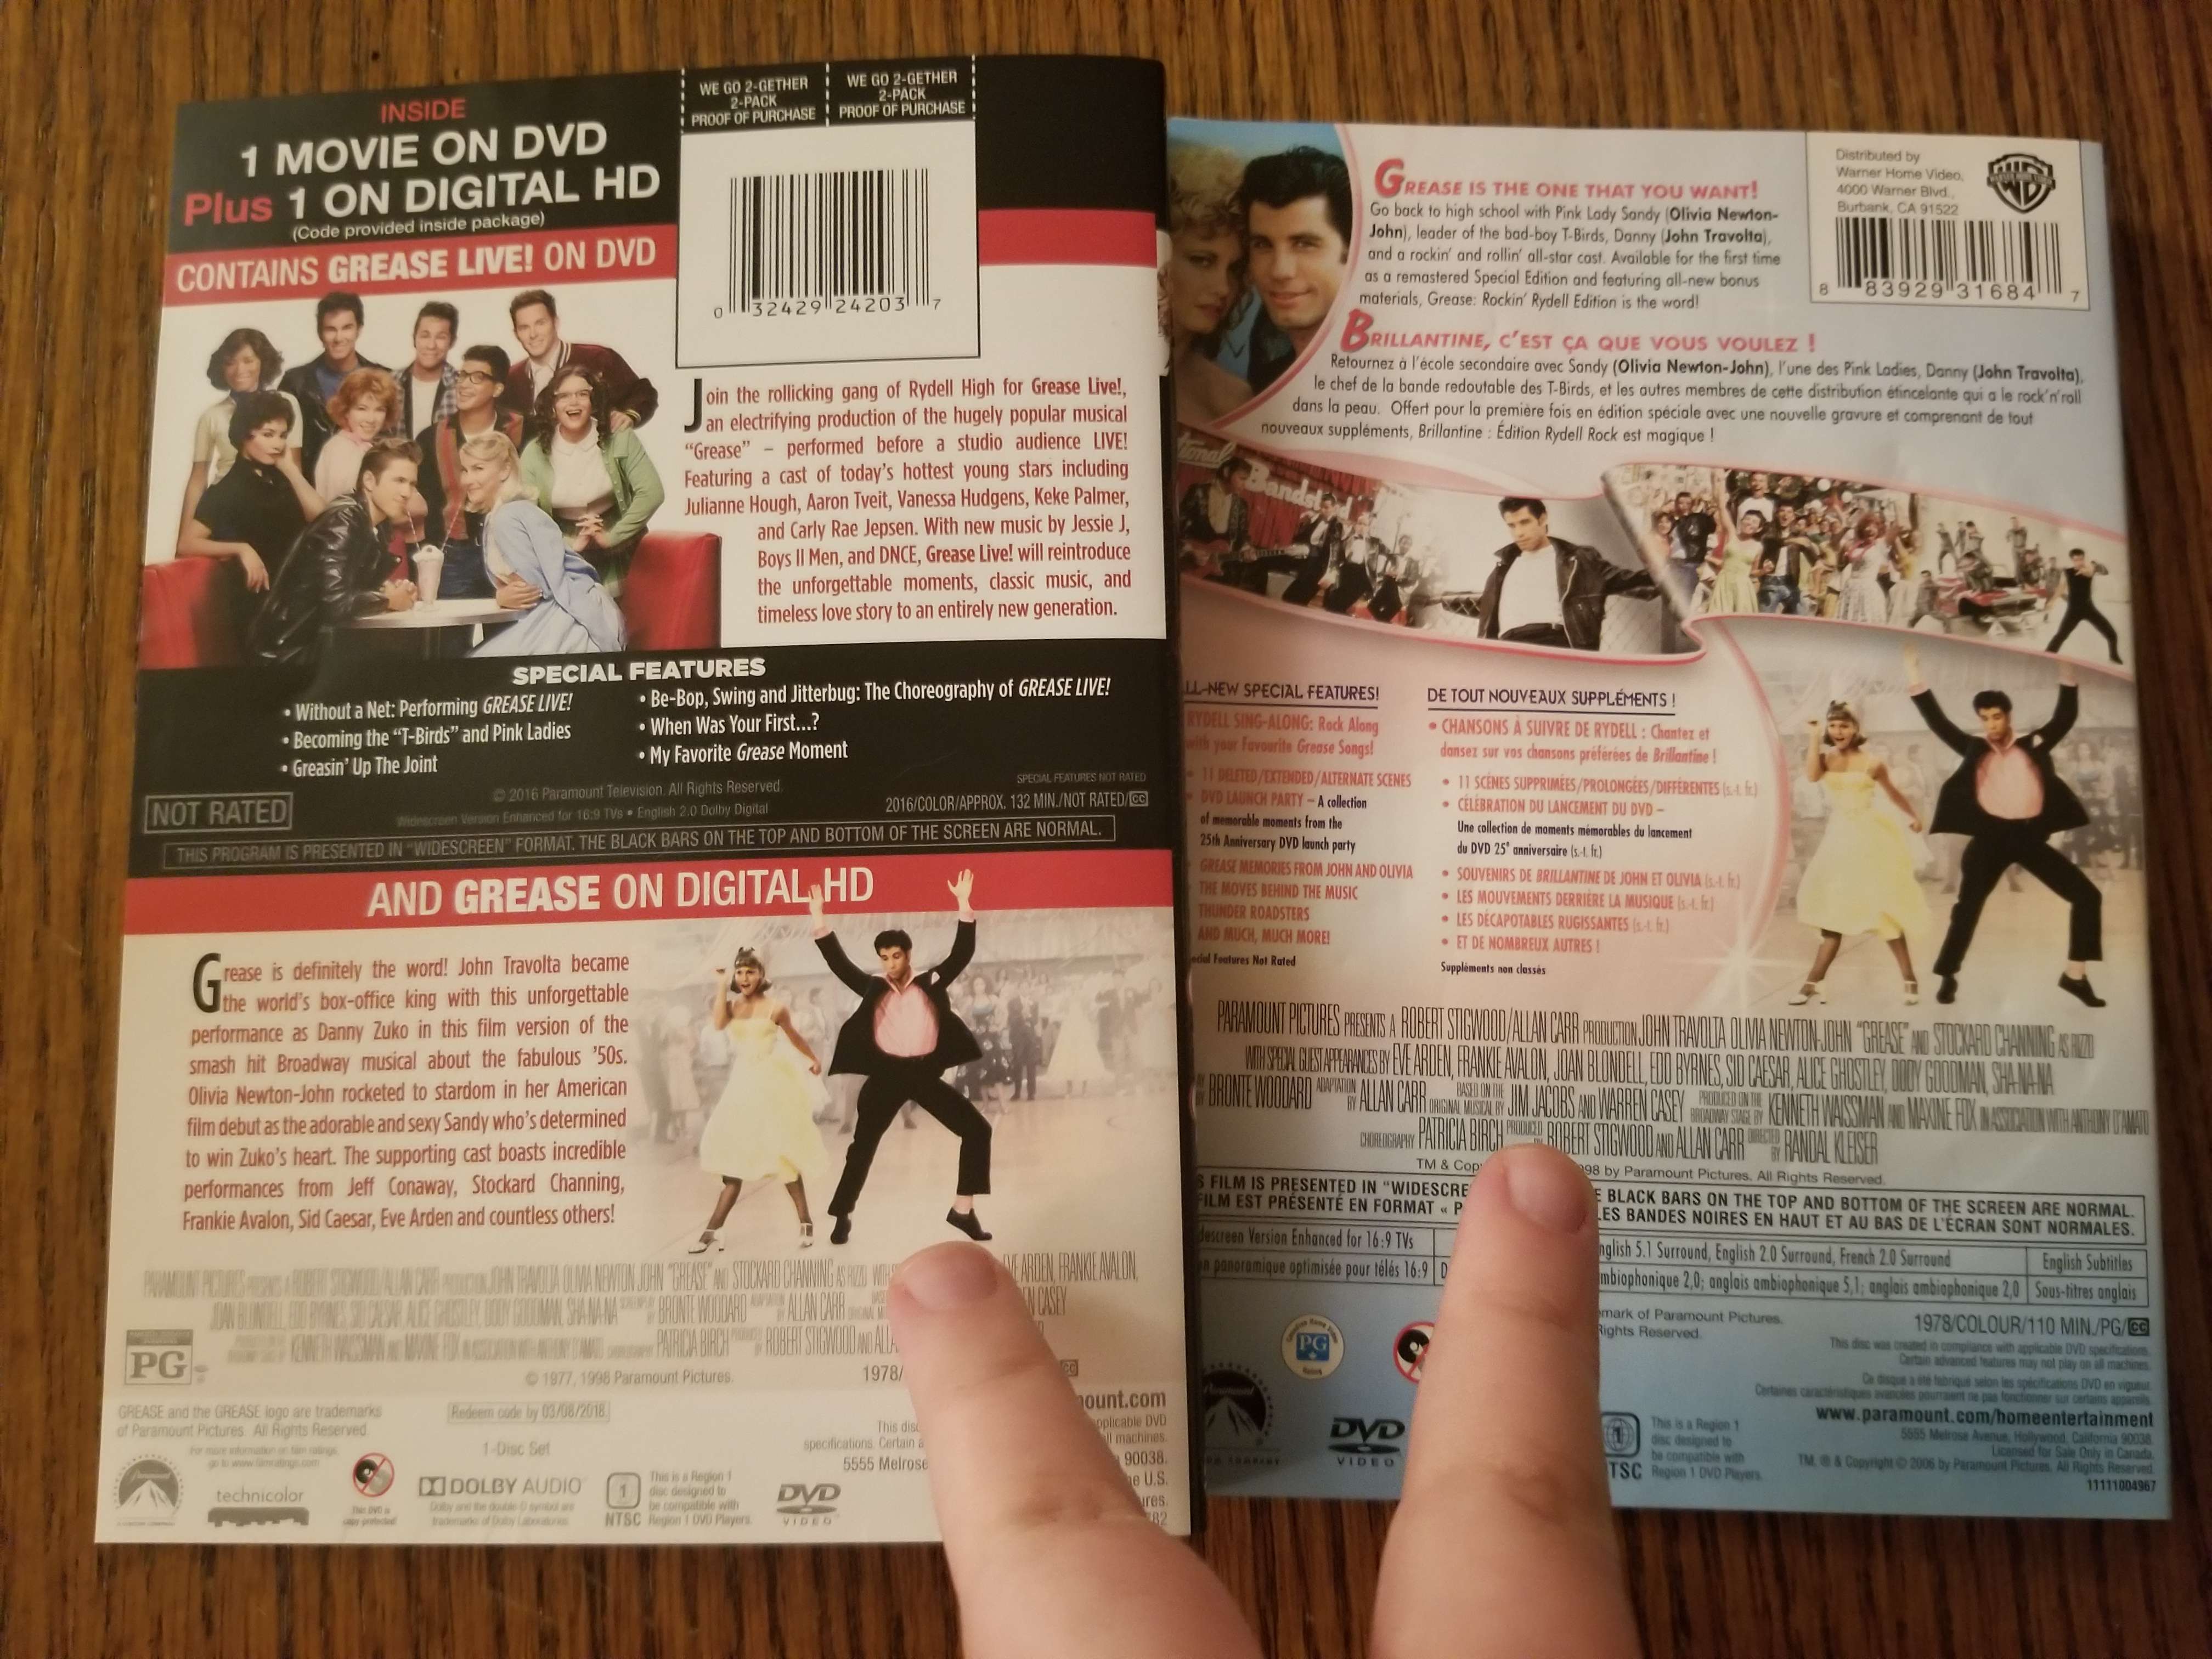
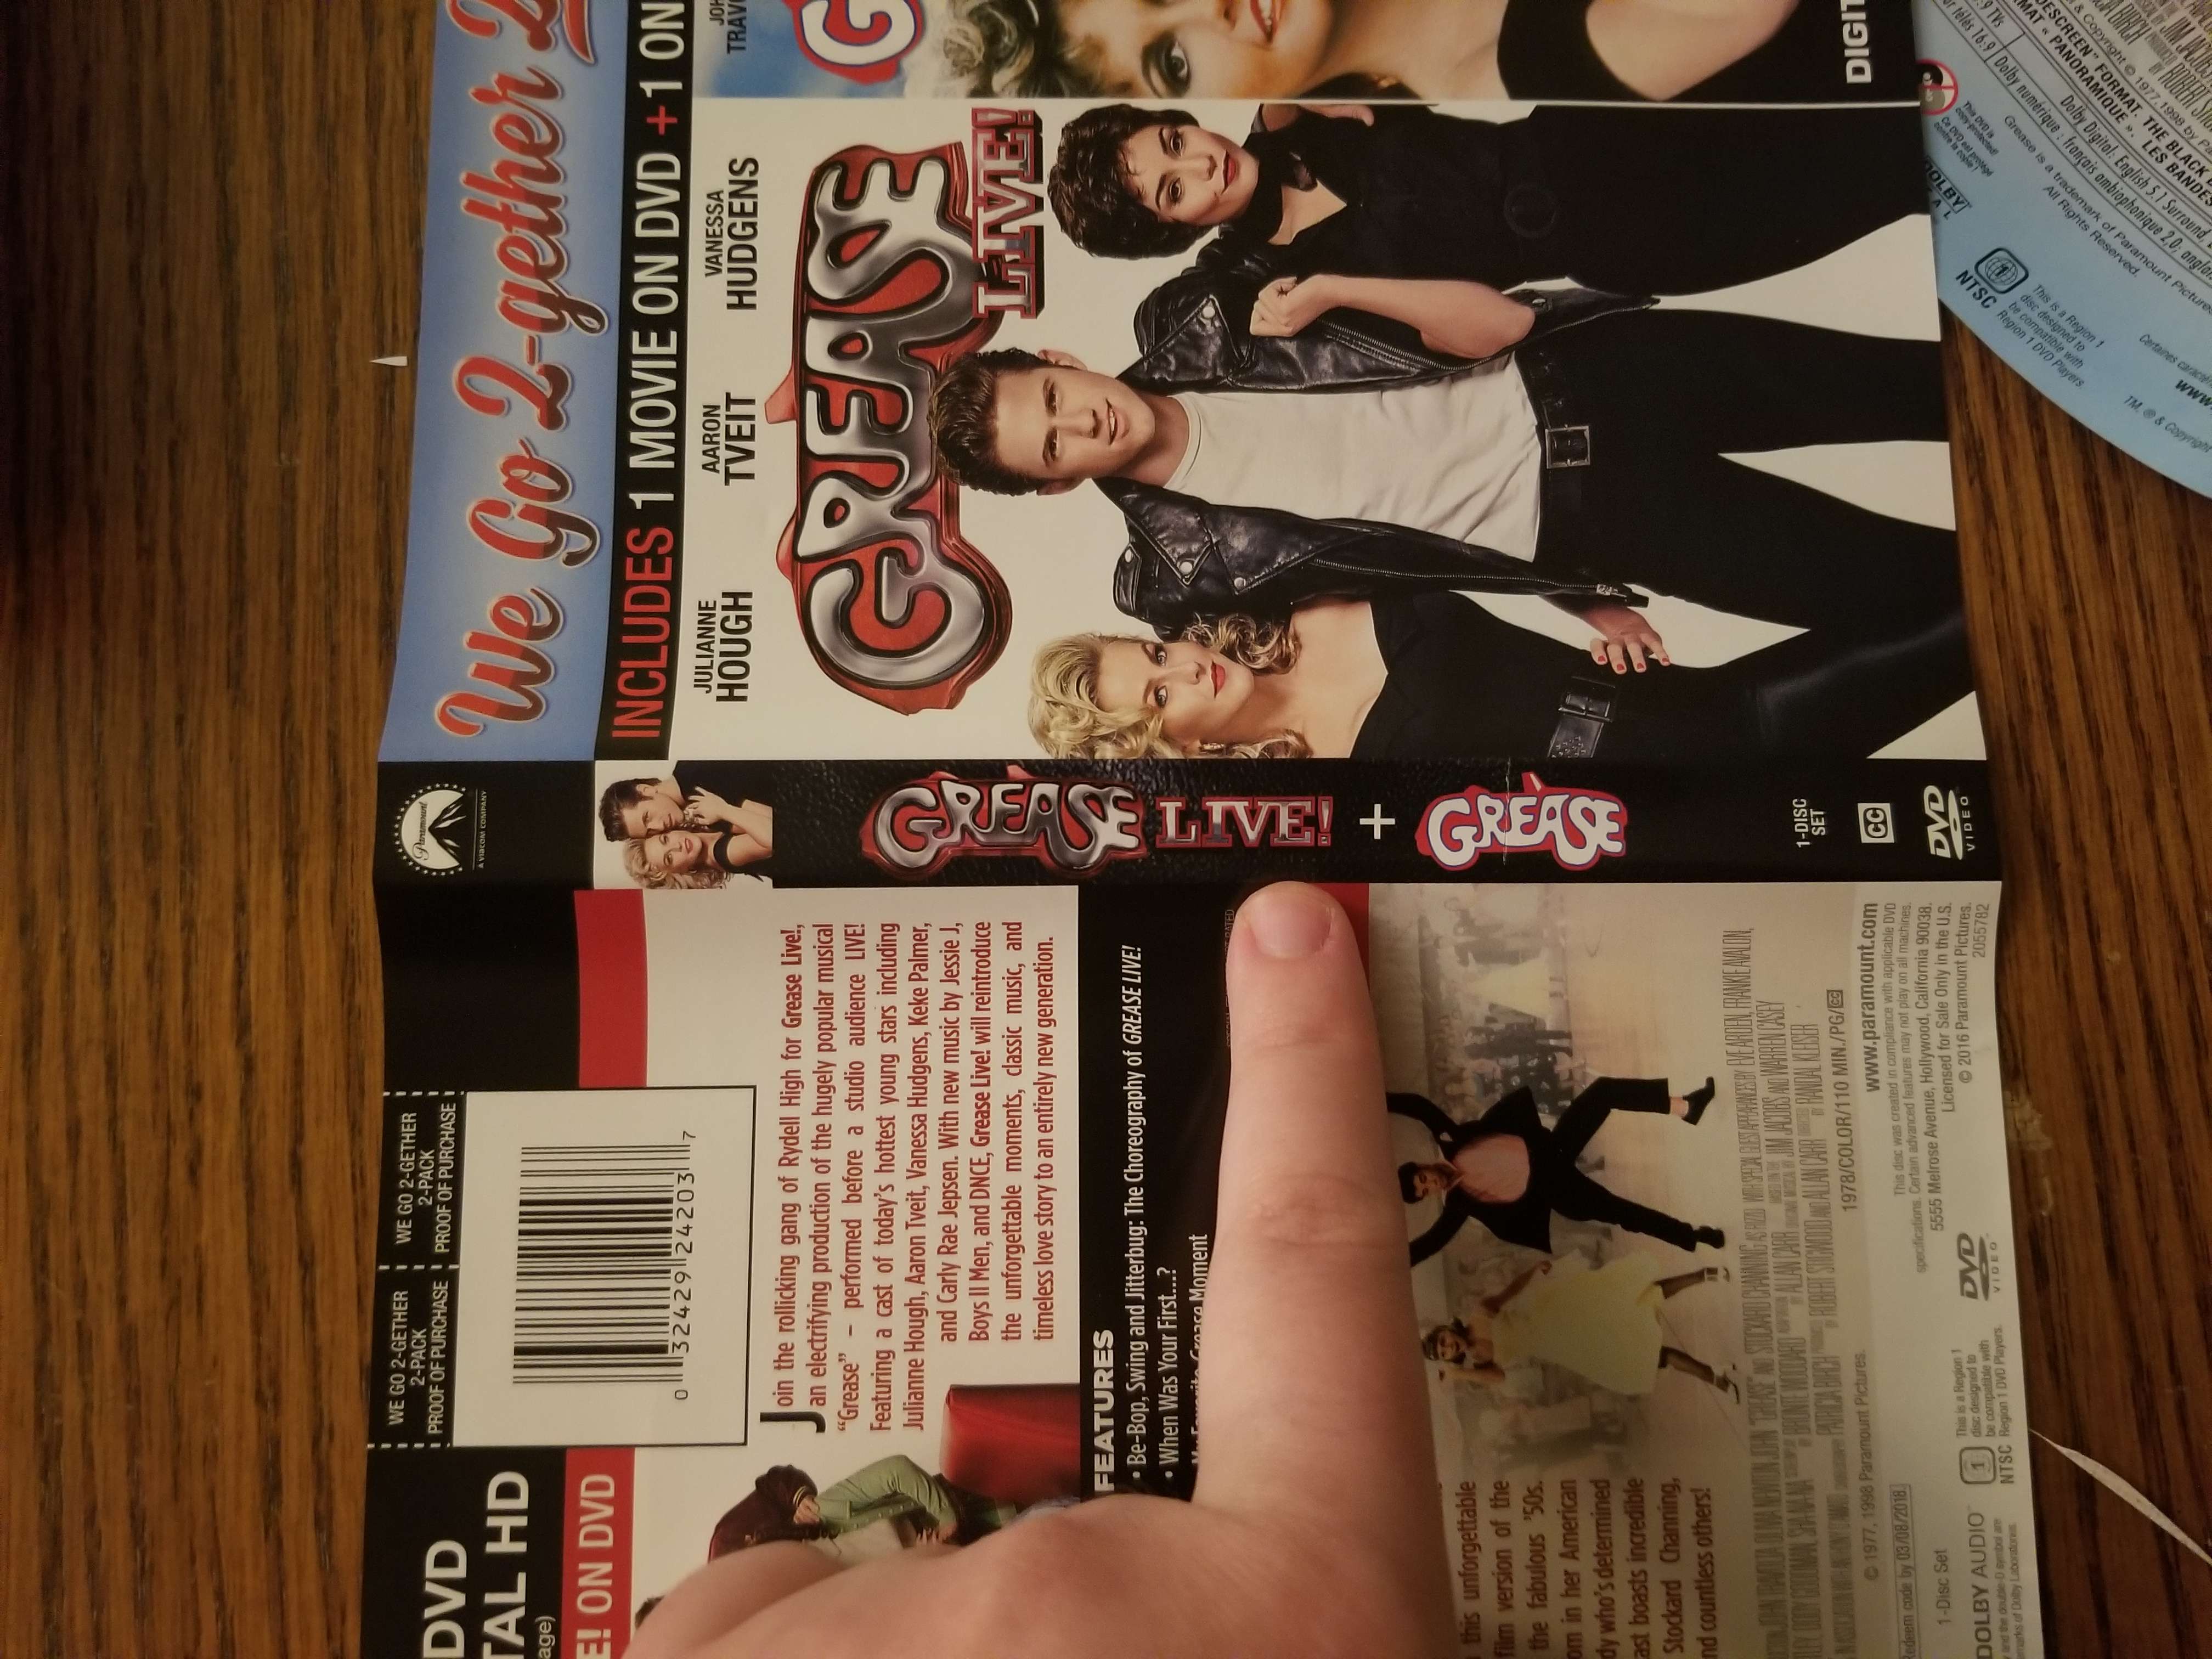
My copy of Grease Live came with a download code for a digital copy of Grease, which unfortunately was a service I couldn’t get working in Canada at the time. It also means the cover was this ugly collage of both posters and that big bold “DIGITAL” banner at the top which I really didn’t care for. However, since the spine of the artwork already says “Grease Live + Grease,” I kept that and the information on the back. The information in the bottom half about the original Grease was laid out in almost the exact same way as the back of the other DVD, so I kept that as well. The back of the Grease cover I then cut down and stuck into the case as a reminder of what the extra features on that disc are.
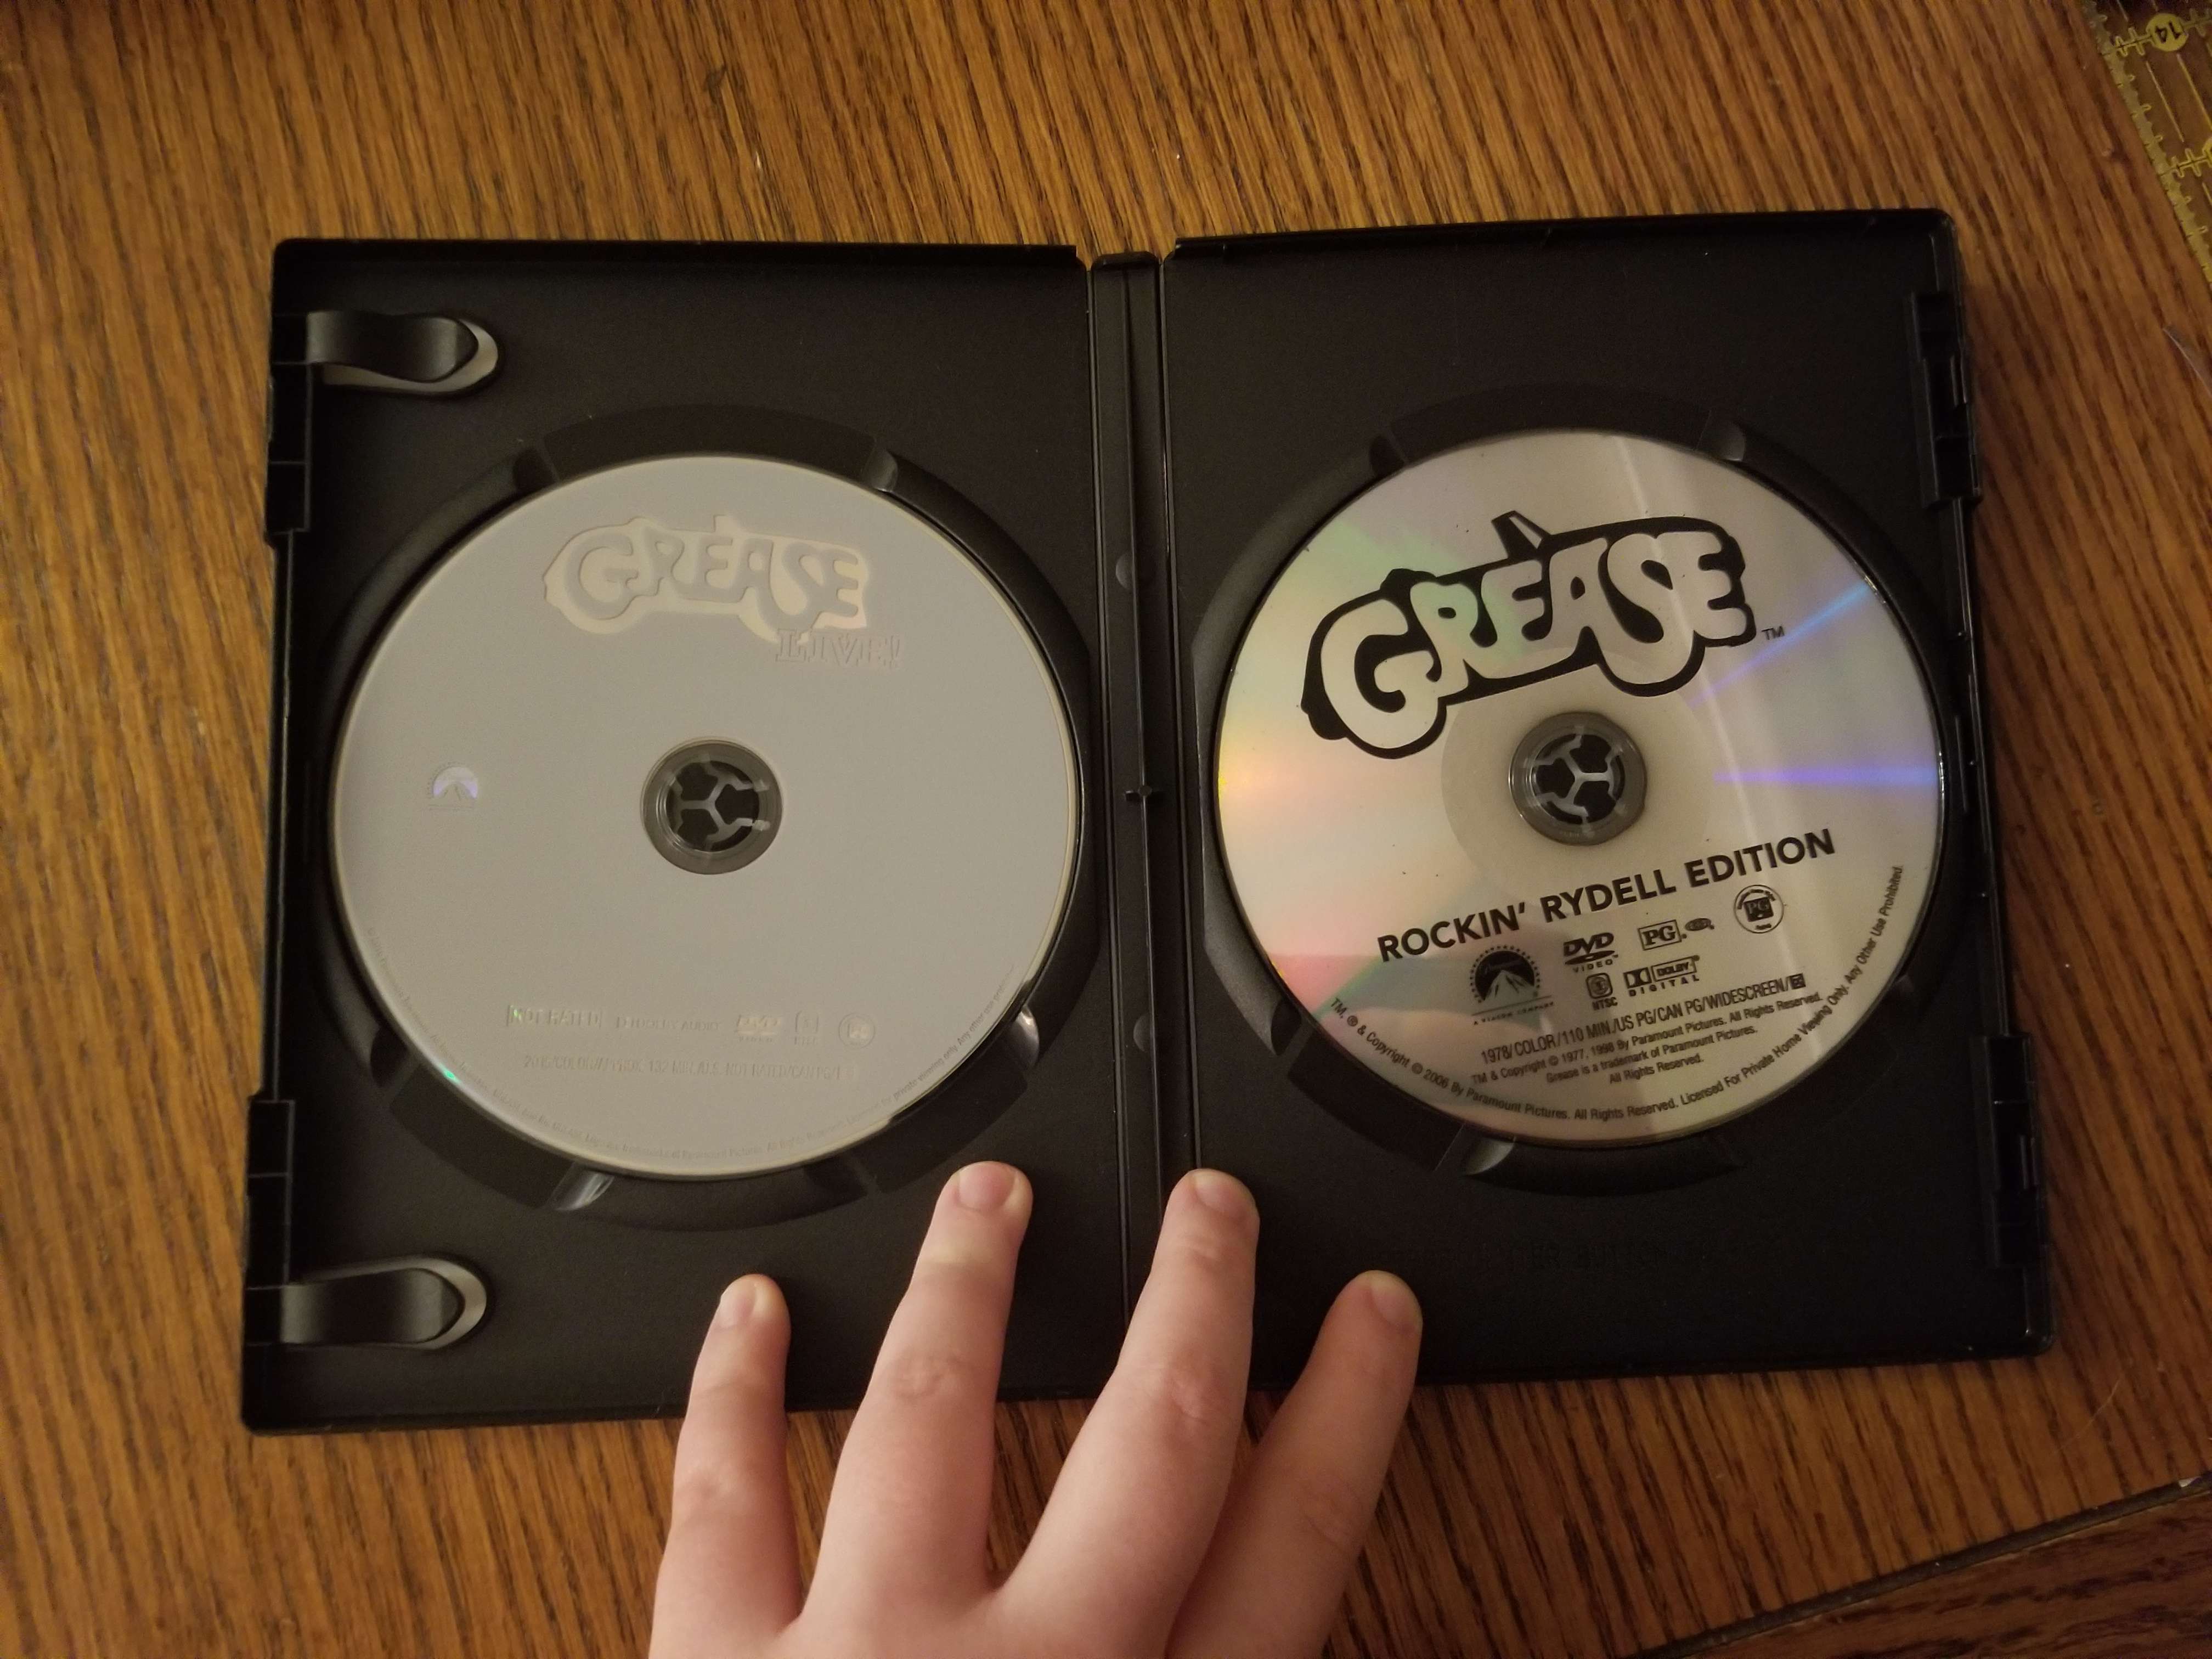

I usually end up watching the classic Grease anyway.
Like, wow, man! The Scooby-Doo Example
I did something similar for my Brian Levant Scooby-Doo movies (the ones made for Cartoon Network like ten years ago). Instead of keeping the back cards, though, I decided to have the cover art for each movie on the side of the case the disc is in. For the spine, I liked the way the Mystery Begins one looked, and that made the most sense to me to have facing out.
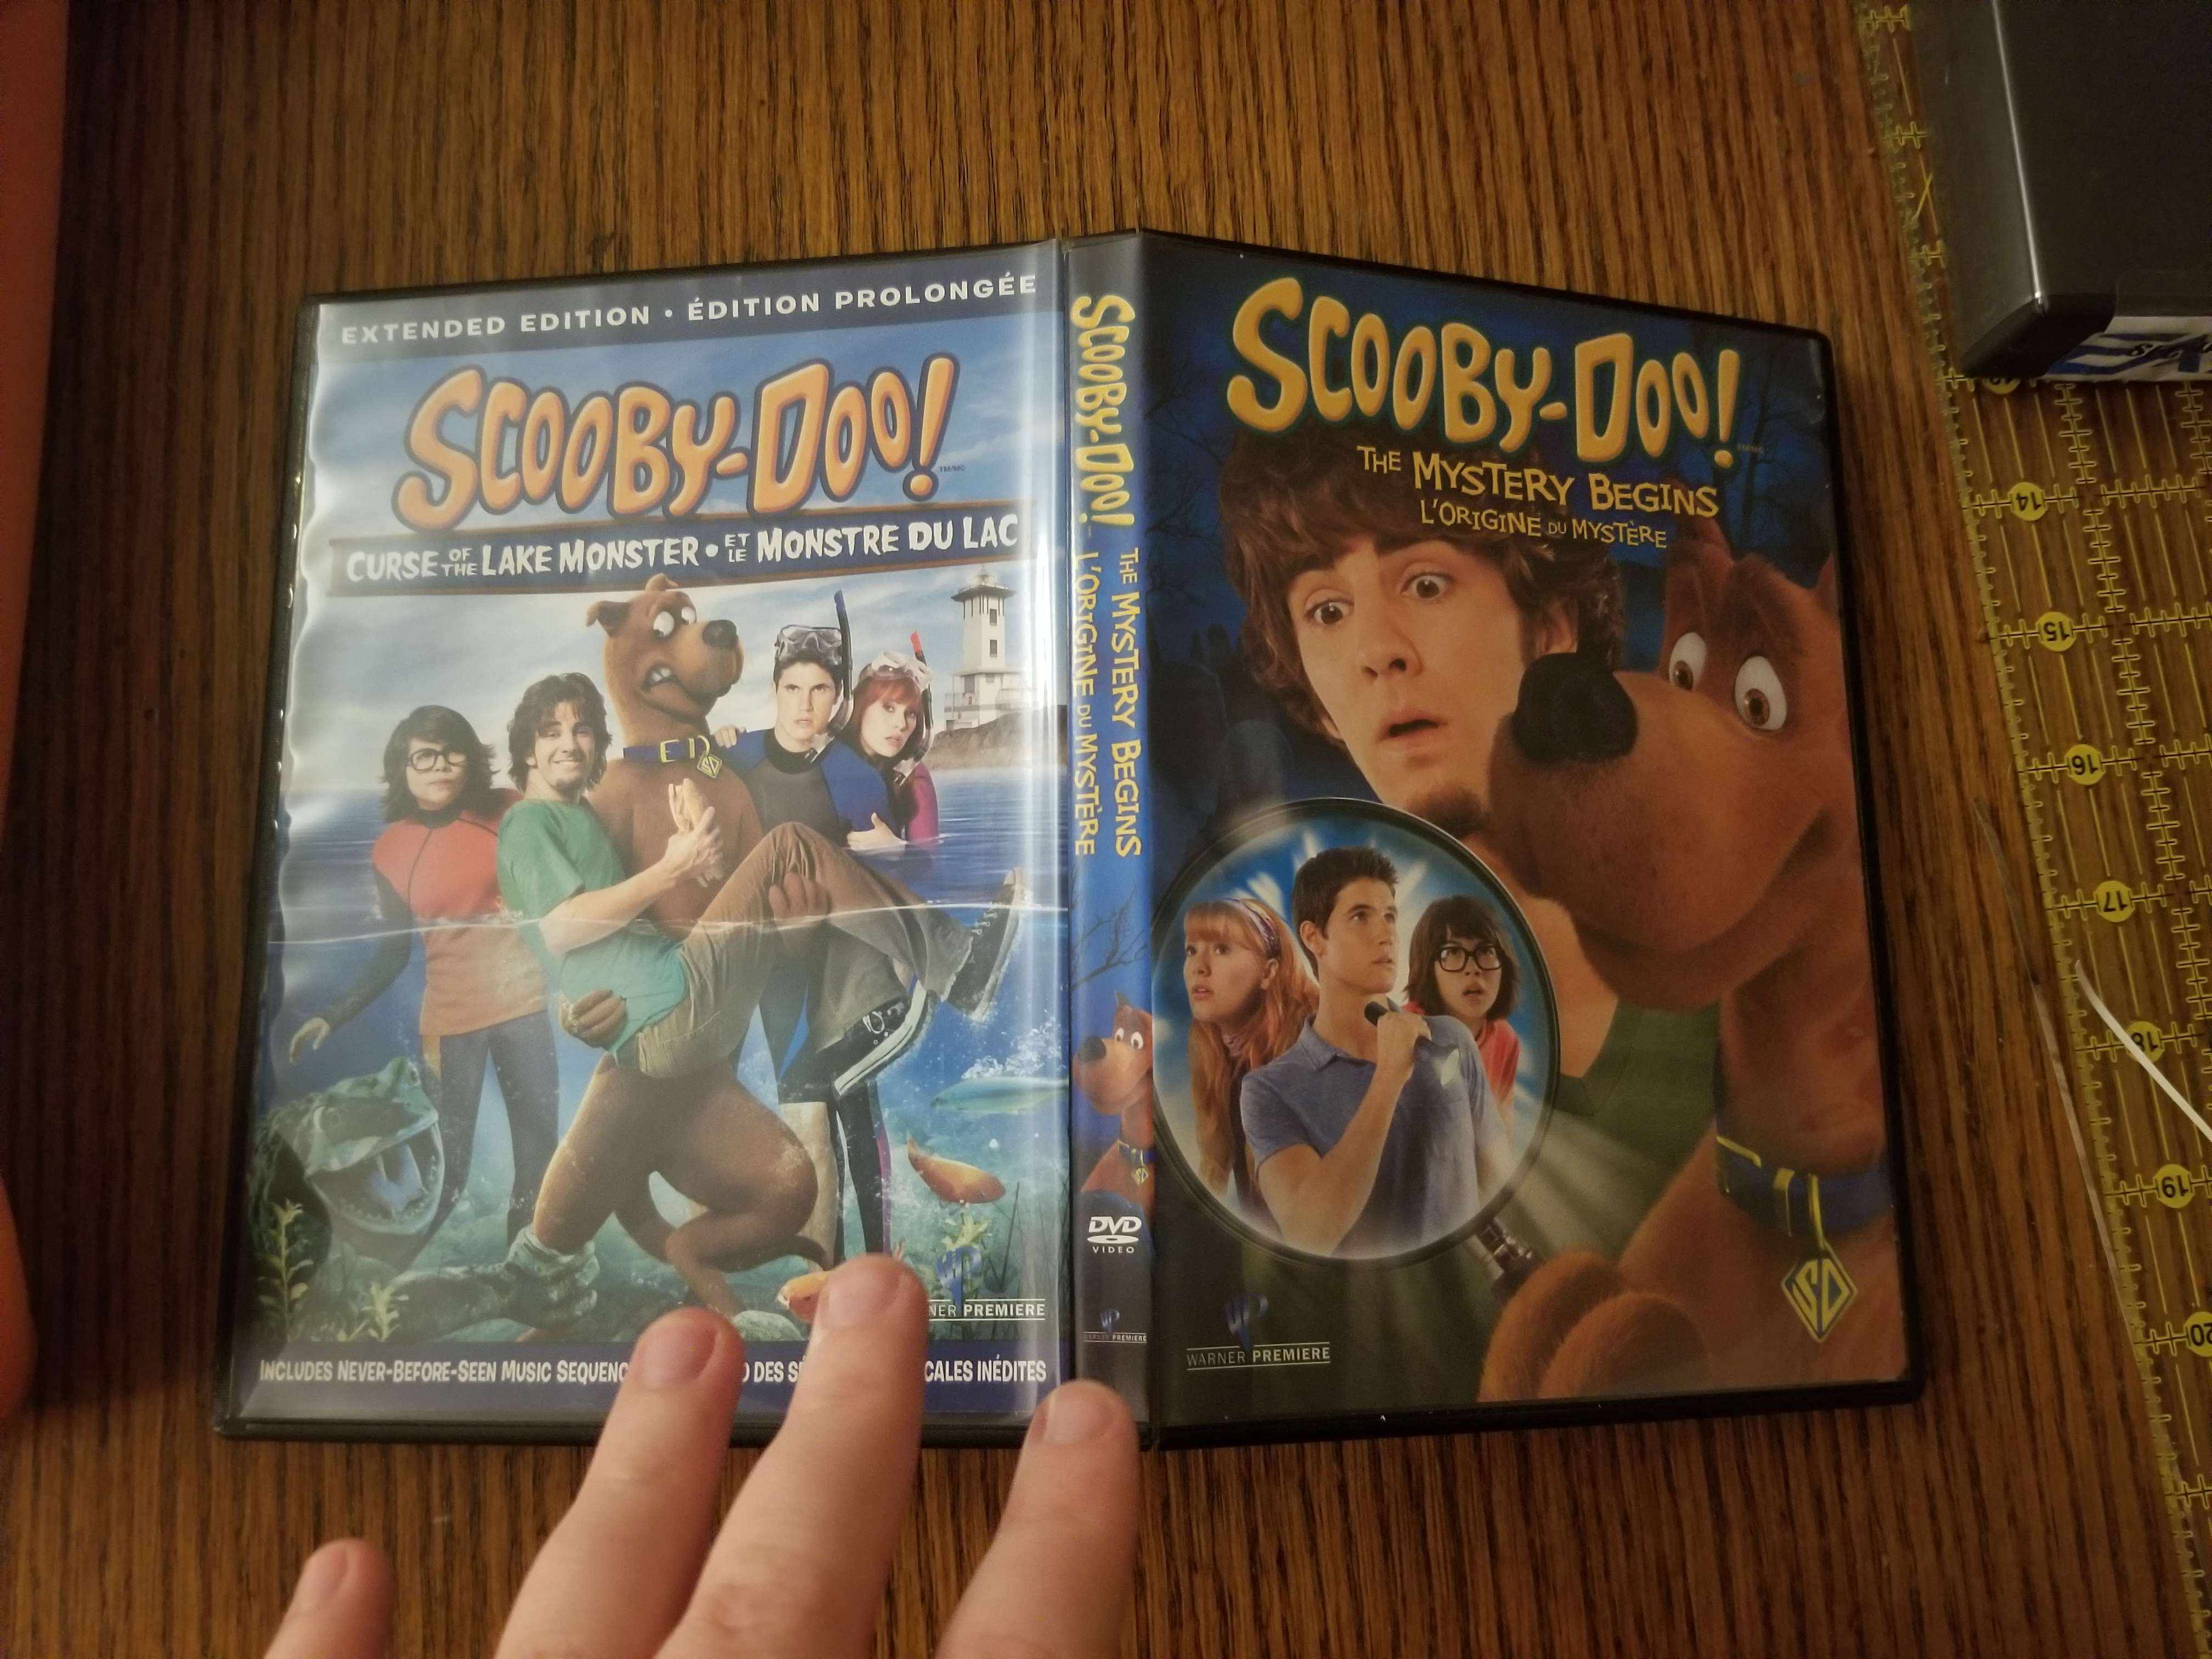
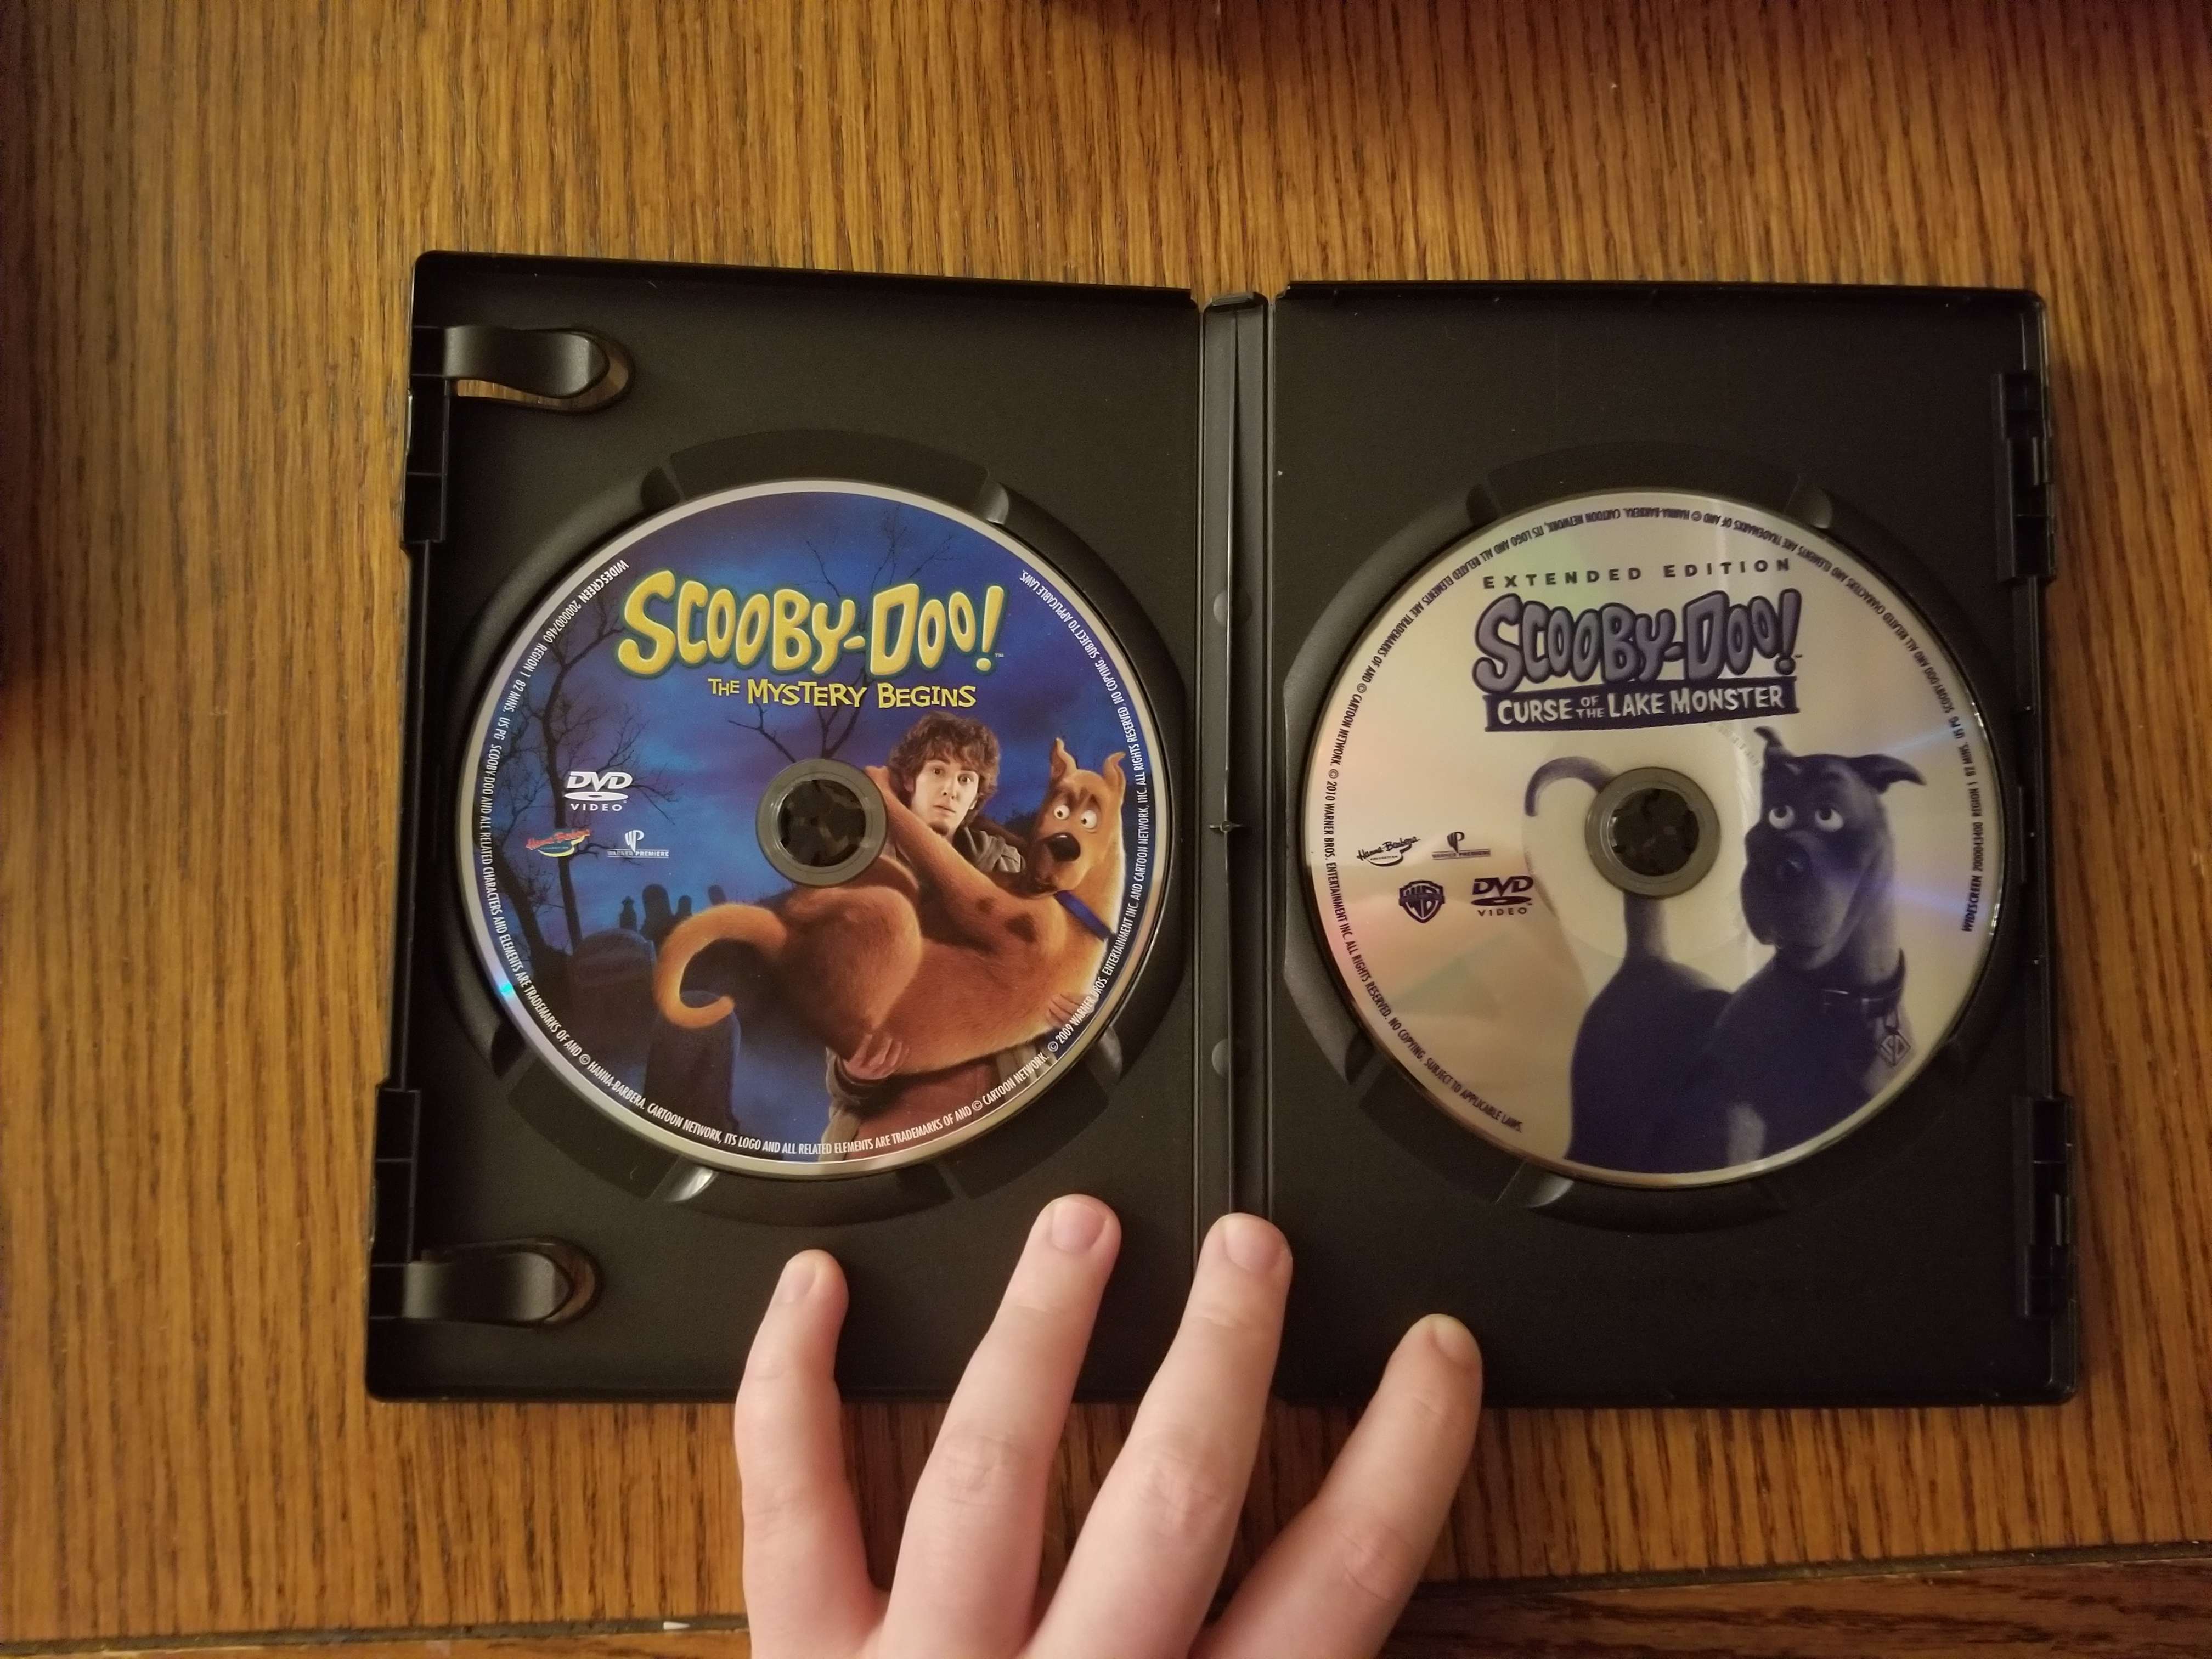
I love how both of these methods end up looking. It was really lucky that Grease Live! had that absolutely perfect spine, and the Scooby-Doo movies just make me so happy to see together. To cut the covers to size I used a guillotine paper cutter and one of those scrapbooking corner rounders to make sure both sides matched each other. You can just use scissors though.
I hope you found this either helpful or simply an interesting read. I'm having so much fun as I get a little more serious about my media collection and I hope this sparked some inspiration in you on how you can personalize your own movie collection.
Cheers, Bear.
Back
